Plan, Install & Maintain Your Well Manager System
Find system-specific installation information, plumbing and electrical requirements, dimensions, videos, startup resources, and other tools to help plan for your Well Manager installation.
System Resources
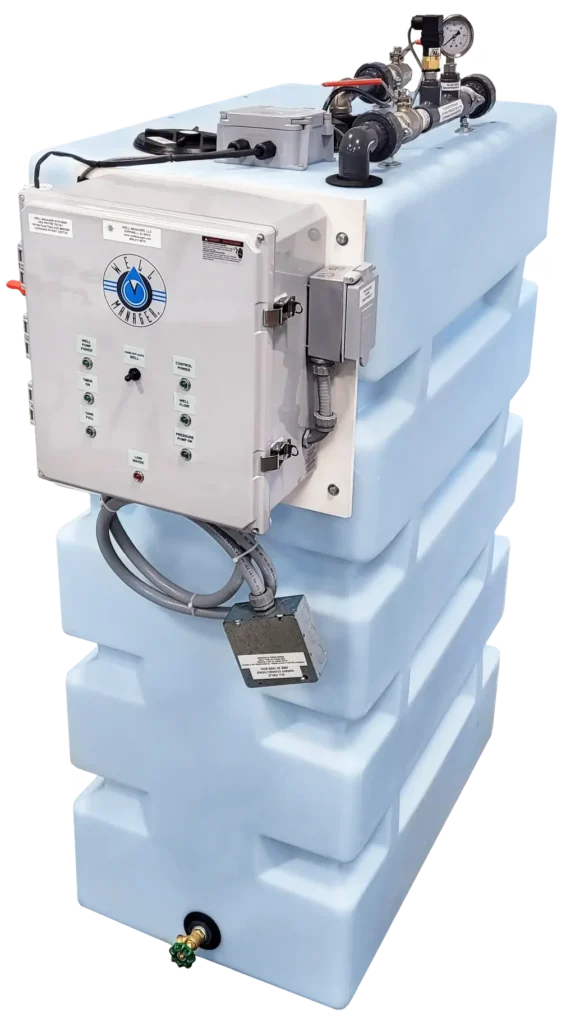
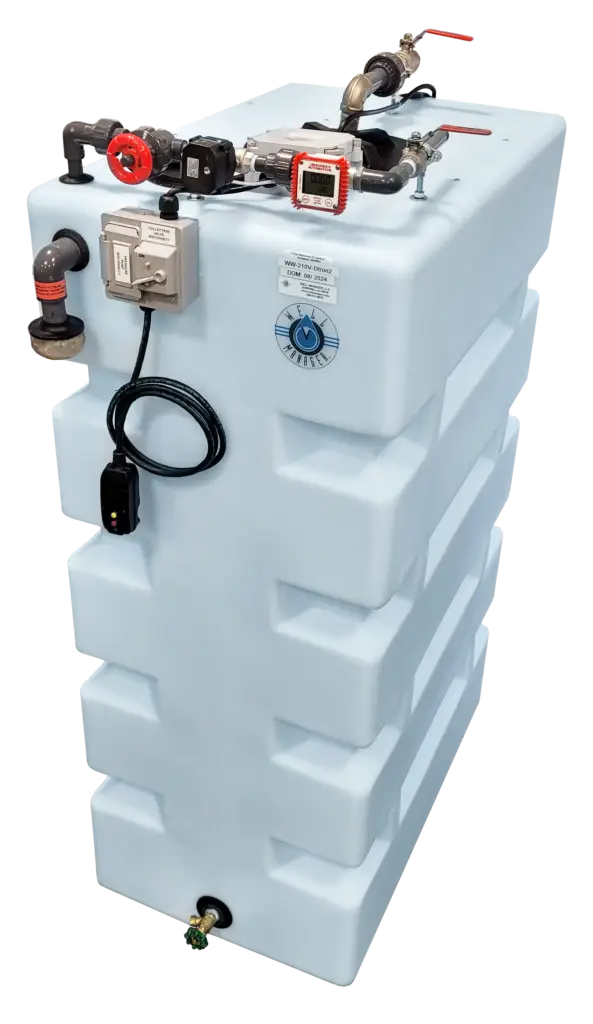
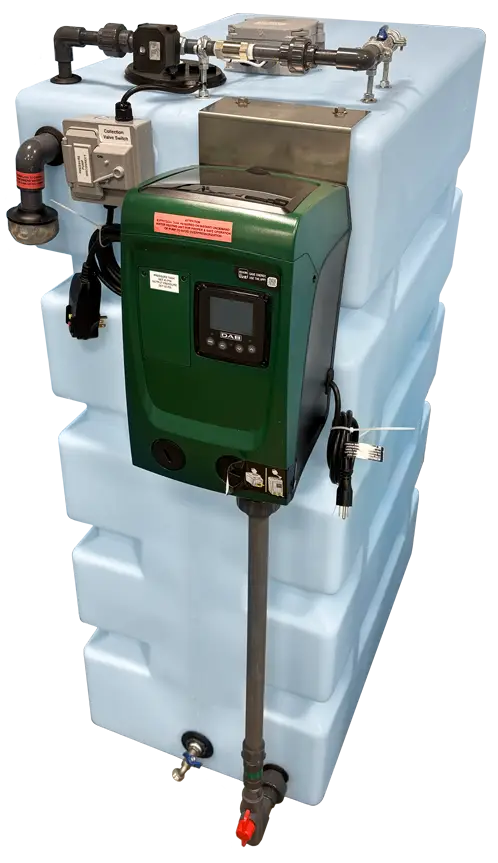
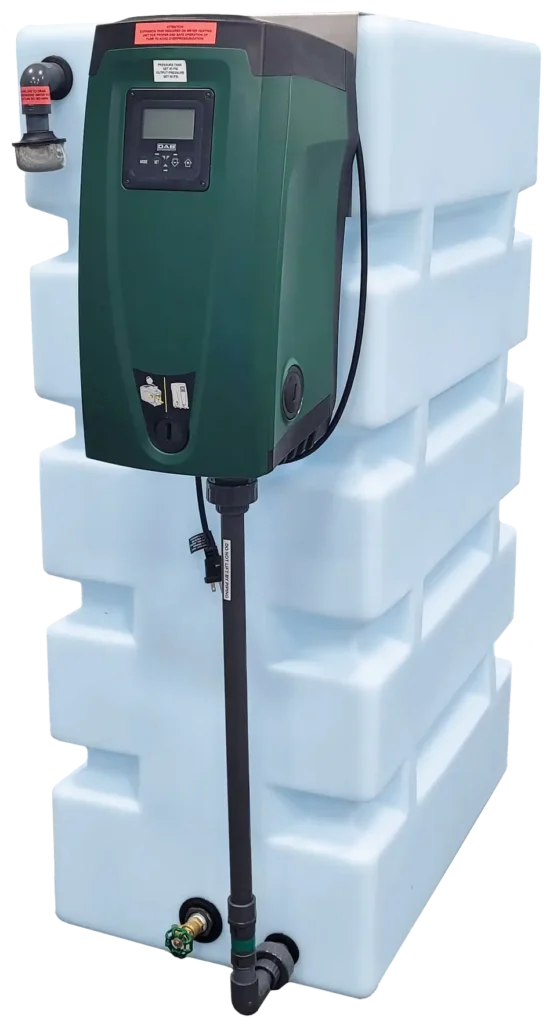
Plan Ahead for Your Installation
A little planning before installation can help make setup easier and ensure your Well Manager system fits properly into your existing water system. Consider your available space, plumbing layout, electrical requirements, water treatment equipment, drainage, and future access before choosing a final system location.
Plan Your Space
Consider the system's overall dimensions, tank orientation, access into the installation area, and space needed for pumps, plumbing, and other equipment. The system should be placed on a level, properly supported surface with enough room for installation and future service. Don't forget to plan for condensation and nearby drainage when selecting your system location.
Plan Your Plumbing
Take note of where your incoming water line enters the space and where water continues to the home. Existing pressure equipment, filtration, water treatment, bypasses, drainage, and the location of the booster pump can all affect the final plumbing layout. Each system has its own connection and placement requirements, which are outlined in the system-specific resources below.
Plan Your Electrical
Electrical requirements vary depending on the Well Manager system and booster pump selected. Before installation, identify the available electrical service and its location in relation to the planned system placement. Review the electrical requirements for your specific system and pump before installation. All electrical work should follow applicable codes and be completed by a qualified professional where required.
Plan Around Water Treatment
Consider any existing sediment filters, water softeners, iron filters, UV systems, reverse osmosis equipment, or other water treatment when planning your installation. Where treatment equipment is placed in relation to the system can affect both plumbing and system operation. Use the system-specific water line diagrams below to see the recommended placement of your Well Manager system and surrounding equipment.
Need Help Visualizing Your Installation?
Every installation is different. Our team can create a custom system layout to help you better understand how your Well Manager system may fit, connect, and be configured before installation.
Layouts can be tailored to your space, system configuration, pump selection, water treatment equipment, and other installation needs.
- Photos of the proposed installation area
- Overall room or available-space dimensions
- Ceiling height and doorway/access measurements
- Existing plumbing and incoming water-line location
- Pressure tank and water treatment locations
- Available electrical service
- Furnaces, water heaters, appliances, or other equipment that cannot be moved
Space & Placement

System Dimensions

Plumbing & Equipment

Installation, Startup & Maintenance Videos
Find helpful videos for preparing, starting up, adjusting, and maintaining your Well Manager system and related equipment. These resources apply to multiple system configurations; additional system-specific videos can be found within each system’s installation resources below.
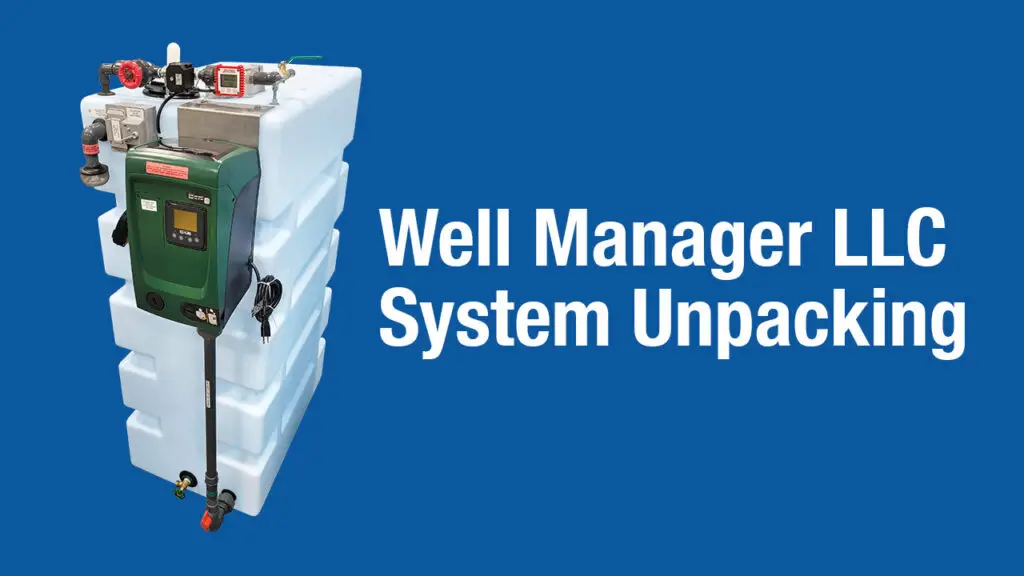
How to Unpack Your Well Manager System
What to expect when your system arrives and important steps to take before moving or beginning installation.

DAB E.SYBOX | How to Prime Step by Step
Learn how to properly prime your DAB booster pump during system startup.
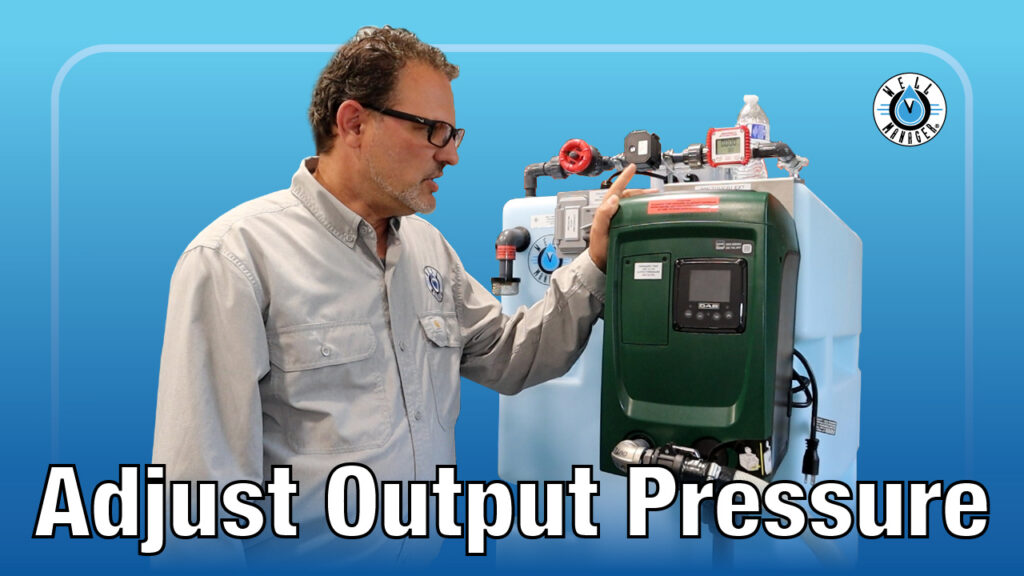
DAB E.SYBOX | How to Adjust Output Pressure
Learn how to adjust the pressure setting on the DAB E.SYBOX Mini 3 for your water system.
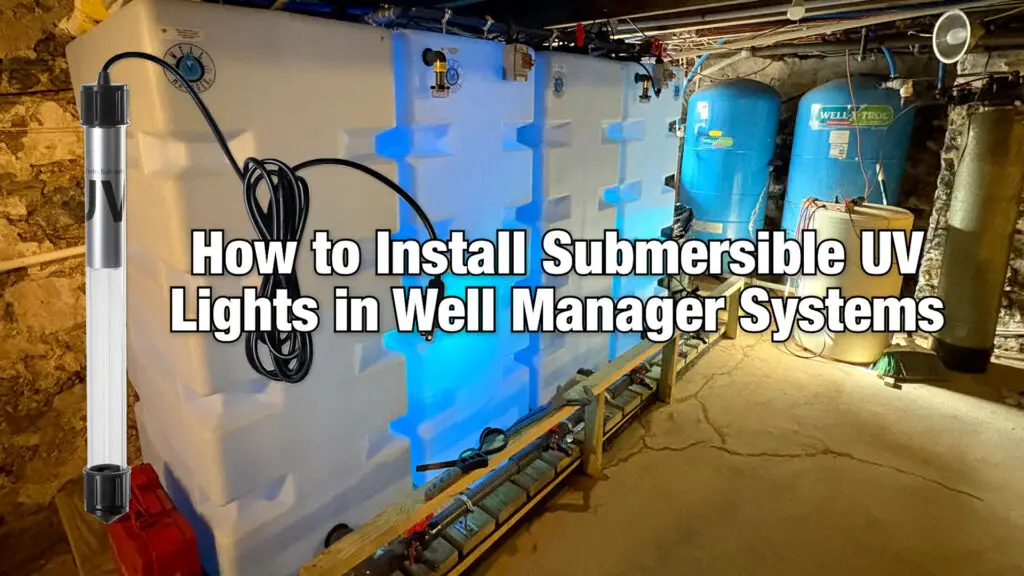
How to Install Submersible UV Lights in Our Systems
A step-by-step look at installing a submersible UV light with a compatible Well Manager system.
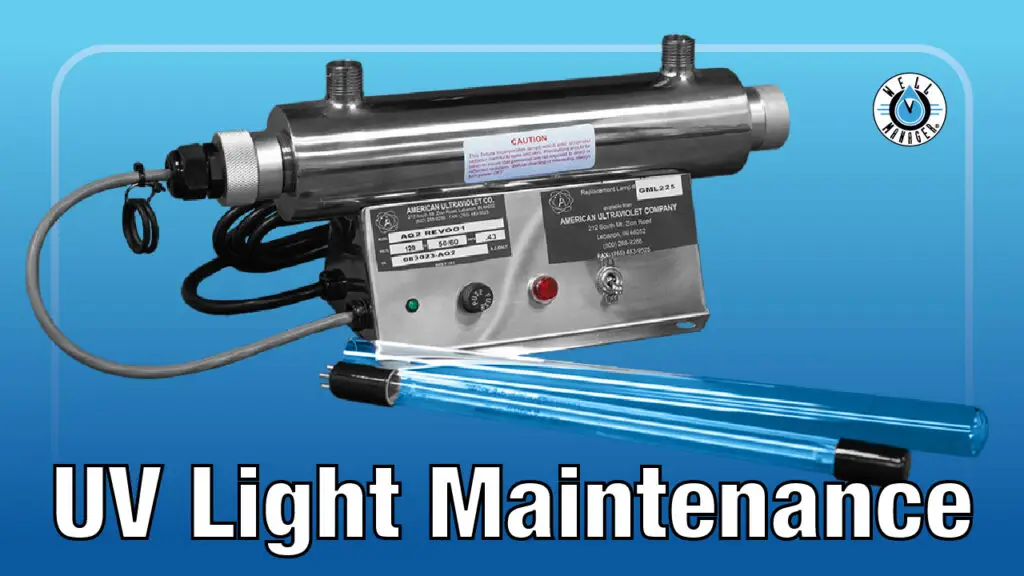
How to Replace Your UV Bulb & Clean the Quartz Sleeve
Basic maintenance guidance for keeping your UV water treatment equipment operating properly.
Installation and Maintenance FAQs
Have questions before installing your system? Find answers to common questions about system placement, installation requirements, plumbing, electrical needs, and working with your existing water treatment equipment.
What should I say when looking for a plumber to install my Well Manager® system?
When contacting a plumber or well professional, describe the system clearly and simply: “I have a Well Manager® water storage and pressure system. It’s a water storage tank system with a pre-wired control panel, float level controls, and a VFD pump. The system arrives pre-engineered — the internal electrical components are already wired.”
Then add this important clarification: “The installer does not need to wire any internal controls. The work mainly involves standard plumbing connections and tying into the existing well or water line. Electrical work is limited to supplying power to the system and pump—typically through a dedicated circuit breaker—and replacing the existing pressure switch with the system’s junction box. The system includes an Installation Guide and Quick Start Guide with step-by-step instructions and wiring diagrams.”
How easy is it to install a Well Manager system?
Well Manager systems are designed to be plug-and-play, making installation straightforward for a professional plumber, electrician, or skilled homeowner. Every systems comes with a installation and quick start guide – to make the process even more seamless.
Do you have any installation instructions?
Yes, each of our systems includes its own Installation & Quick Start Guide with system-specific instructions and diagrams.
In general, installation involves connecting the system to a dedicated power source and plumbing the incoming water into the system, with the outlet supplying water to the home. Most systems—including the Well Watcher™ and ConstaBoost™—are typically installed after the pressure tank and work in conjunction with the existing pressure tank and pressure switch.
The Well Manager® System is more advanced and is designed to replace the traditional pressure switch and pressure tank. It ties directly into the well pump wiring and manages water collection, storage, and delivery through its pre-wired control panel.
Depending on the system purchased, pump selection, and site configuration, additional system-specific steps may be required. These details—including any unique installation elements—are clearly outlined in the Installation & Quick Start Guides provided with each system.
For proper filter placement and final system layout, please refer to the system-specific diagram included with your Installation Guide, as configurations may vary.
How is power supplied to the system, and how does the pump connect to it?
We provide an auto-reset 15-amp GFCI plug on every system, designed to connect to a dedicated 15A outlet in your home. The DAB pump plugs into the 115V outlet on the system. If your system is configured with a DAB E.SYBOX 2 HP pump, that pump requires its own dedicated 20A outlet.
Can the system be installed in tight spaces like basements, crawl spaces, or garages?
Yes. The tanks’ versatile configurations—including vertical, horizontal, and low-horizontal options—make them well-suited for tight spaces such as basements, garages, and crawl spaces. If you have any sizing or space constraints, we recommend discussing them with us so we can help determine the most feasible configuration for your setup.
Are your Well Manager® control panels proprietary, and can they be replaced in the future?
Yes — and yes.
Well Manager® control panels are proprietary and purpose-built for our systems, ensuring proper operation, safety, and long-term reliability. They are fully replaceable, and new panels and individual replacement components are available if needed in the future.
Our panels are:
UL Listed
Manufactured in the USA by SJE Rhombus
Built using industry-standard, off-the-shelf components, including relays and timers that are widely available
This means:
You are not locked into a one-off or unsupported design
Replacement parts are serviceable and obtainable
The system is designed for long-term support and maintainability
Well Manager® continues to support both panel replacements and component-level repairs to ensure longevity of your system.
What ongoing maintenance is required for the system?
Routine maintenance involves checking seals, cleaning filters (if applicable), and ensuring the system operates smoothly. For summer and winter vacation maintenance check out these Well Manager Blogs:
Does the storage tank require maintenance?
Yes, we recommend cleaning the tank about once a year. Most customers simply drain the tank, use a soft-bristle brush through the vent opening to scrub the interior, rinse thoroughly, and then refill. Regular water turnover typically prevents buildup, but if the system is unused for extended periods, you may also use time-release purification tablets (such as Aquatabs) to maintain water quality.
Do I need a dedicated circuit for the system?
Yes. We recommend a dedicated electrical circuit for all Well Manager® systems. A dedicated circuit helps ensure reliable operation and prevents the system from unintentionally shutting off if another appliance or outlet in the home trips a breaker. This is especially important because the system may be collecting or managing water automatically, and a loss of power could go unnoticed without a dedicated circuit.
Specific voltage and amperage requirements depend on the system and pump selected and are outlined in the Installation & Quick Start Guide provided with your unit.
Can this system be installed indoors or outdoors?
Yes, with important considerations. Well Manager® systems can be installed indoors or outdoors, depending on the system configuration, tank selection, and local climate.
Tanks should not be installed outdoors in areas where freezing temperatures are possible, unless proper freeze protection is provided.
For outdoor installations, only our black, UV-resistant tanks should be used. Transparent or blue tanks are not recommended outdoors, as sunlight exposure increases the risk of algae growth in stored water.
Indoor installations are common in basements, garages, utility rooms, and crawl spaces, where temperature and light exposure can be controlled.
Do I need a plumber, electrician, or both?
In many cases, a plumber—or a technically capable homeowner—can install the system, as installation primarily involves standard plumbing connections.
However, for certain configurations, additional expertise is recommended:
For Well Manager® Systems, we strongly recommend a licensed electrician for junction box connections, as the system replaces the traditional pressure switch.
If your system includes a Cycle Sensor, a certified electrician is also recommended for proper installation.
If a new dedicated outlet or circuit needs to be added, this should be handled by a licensed electrician per local code.
In addition to plumbers and electricians, well drillers and water treatment professionals (with the appropriate certifications) are also commonly qualified to install these systems. All systems include pre-wired controls and clear installation instructions to simplify coordination between trades.
Can I upgrade or expand my system later?
Yes. Many Well Manager® systems are designed with future flexibility in mind. Depending on the system and site configuration, you may be able to add additional storage tanks, change pumps, or incorporate optional modules such as a Cycle Sensor as your needs evolve. Our team can review your existing setup and help determine compatible upgrade or expansion options.
Have More Questions?
Find answers about Well Manager systems, water pressure, well performance, system operation, maintenance, troubleshooting, and more in our complete FAQ library.
See Well Manager Systems in the Field
Every installation is a little different. Explore completed Well Manager projects to see different system configurations, tank orientations, pump setups, water treatment layouts, and solutions for a variety of installation spaces and applications.
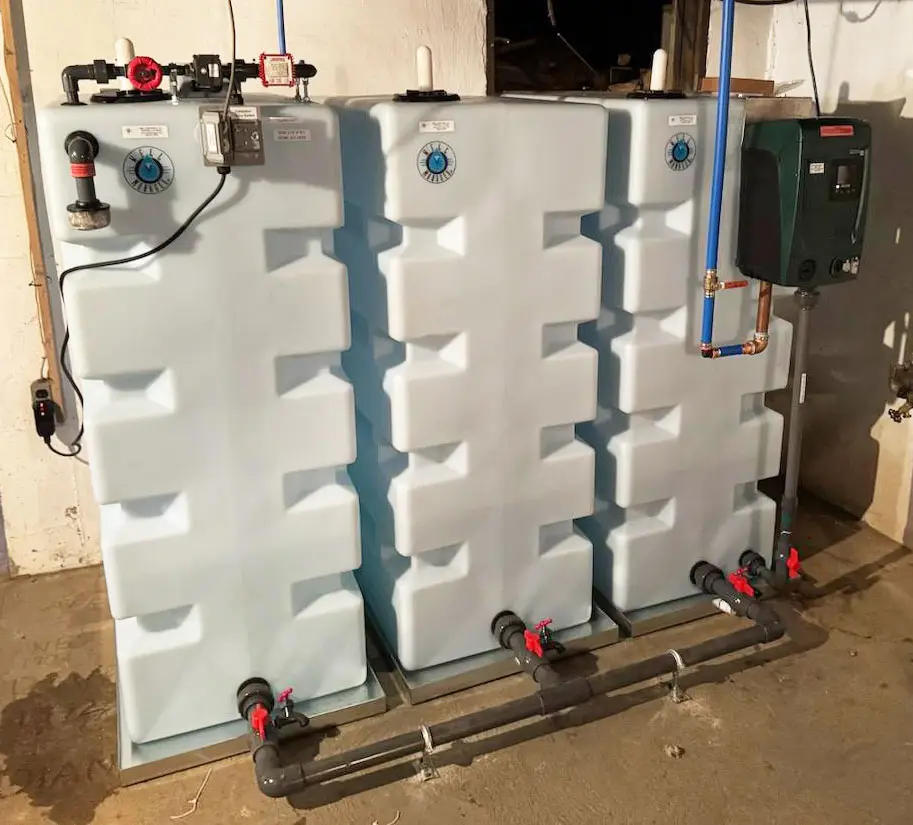
Residential Installation

Unique / Custom Setup
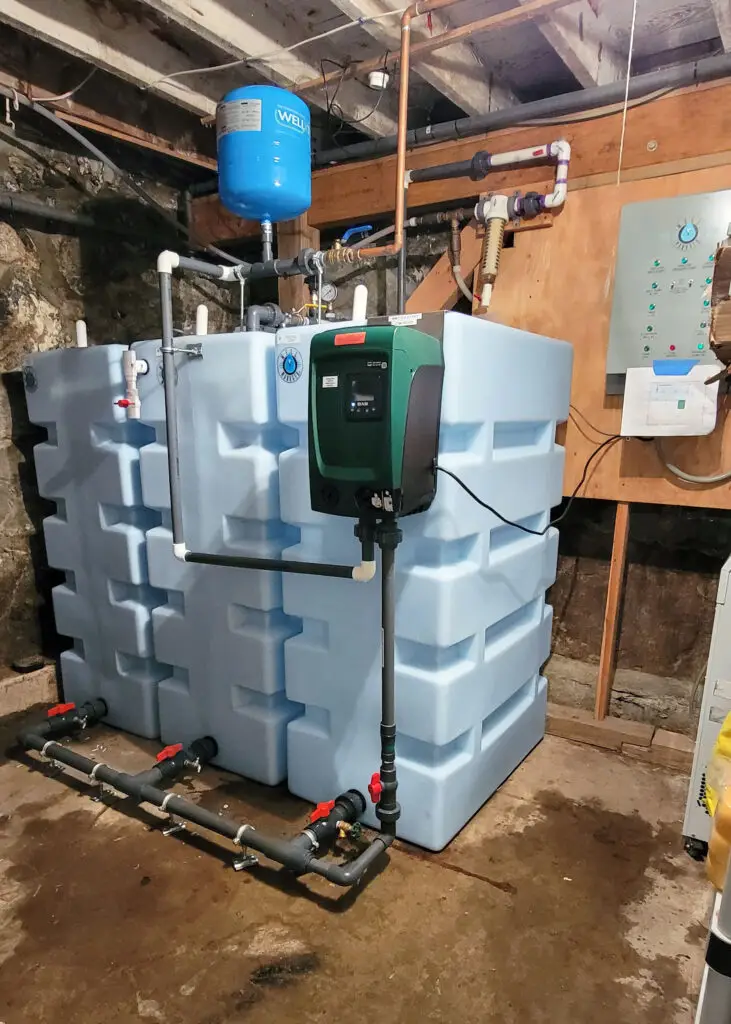
Multi-Tank Installation
Connect With a Well Manager Partner
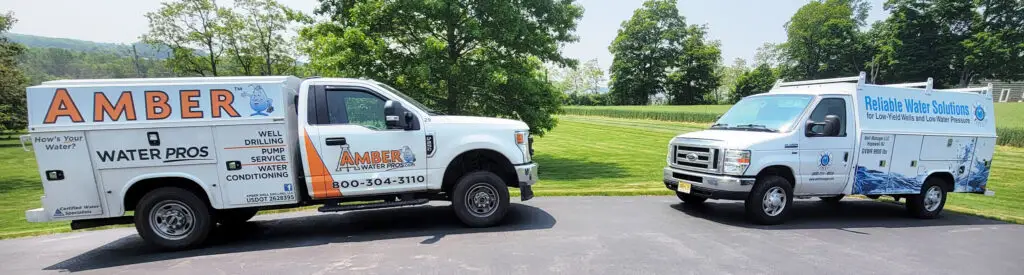
Our Partner Network includes plumbers, well professionals, water treatment specialists, and other companies that have worked with or purchased Well Manager® systems.
Use our Partner Map to find professionals in your area and contact them directly to discuss their services and availability. Partners may offer different services depending on their location, experience, and current workload.
You can also work with a qualified local professional outside of our Partner Network. Our homeowner installer guide can help you find the right professional and prepare them for your Well Manager installation.
Still Have Installation Questions?
Every installation is different. If you have questions about system placement, plumbing, electrical requirements, pump configuration, water treatment compatibility, or preparing for installation, our team is here to help.